Build Your Own Computer
- khi171

- Nov 24, 2019
- 3 min read
Updated: Dec 3, 2019
Contents
Introduction
Procedure
Results
References
Introduction
This Lab is meant to provide a detailed guide to successfully build your own computer from scratch. Each step is represented with a picture (usually below the step) to illustrate what you have to do. The components used in this project are :
Thermaltake Armor Reve Gene VO800M1W2N Black SECC ATX Mid Tower Computer Case; ASRock B85M-ITX LGA 1150 Intel B85 HDMI SATA 6Gb/s USB 3.0 Mini ITX Intel Motherboard;
AMD FX-8350 Black Edition Vishera 8-Core 4.0 GHz (4.2 GHz Turbo) Soc; G.SKILL 4GB 240-Pin DDR2 SDRAM DDR2 800 (PC2 6400) Desktop Memory Model F2-6400CL6S-4GBMQ;
XFX Double D Radeon HD 7870 GHz Edition DirectX 11 FX-787A-CDFC 2GB 256-Bit GDDR5 PCI Express 3.0 x16 HDCP Ready CrossFireX Support Video Card;
Western Digital Blue WD800JB 80GB 7200 RPM 8MB Cache IDE Ultra ATA100 / ATA-6 3.5" Internal Hard Drive Bare Drive;
Antec Basiq BP350 350W ATX12V v2.01 Power Supply - Intel Haswell Fully Compatible

Procedure
1. You will need tools: screwdriver, antistatic equipment, pliers, extra screws (check for screws for building a computer on the Internet or in your local store if you don’t have some!), thermal paste.
2. Deploy a mat and connect the antistatic ESD cord.
3. Put your case on the mat and open it (look for thumbscrew and unscrew them). Take a look inside the case to situate spots where components are more likely to be installed.
4. Find and put the standoffs in order to create a platform for the motherboard.

5. Delicately install the motherboard on the standoffs (gently grab the extremities of the motherboard) and secure it with screws.

6. Raise the CPU slot’s lever (see figure).
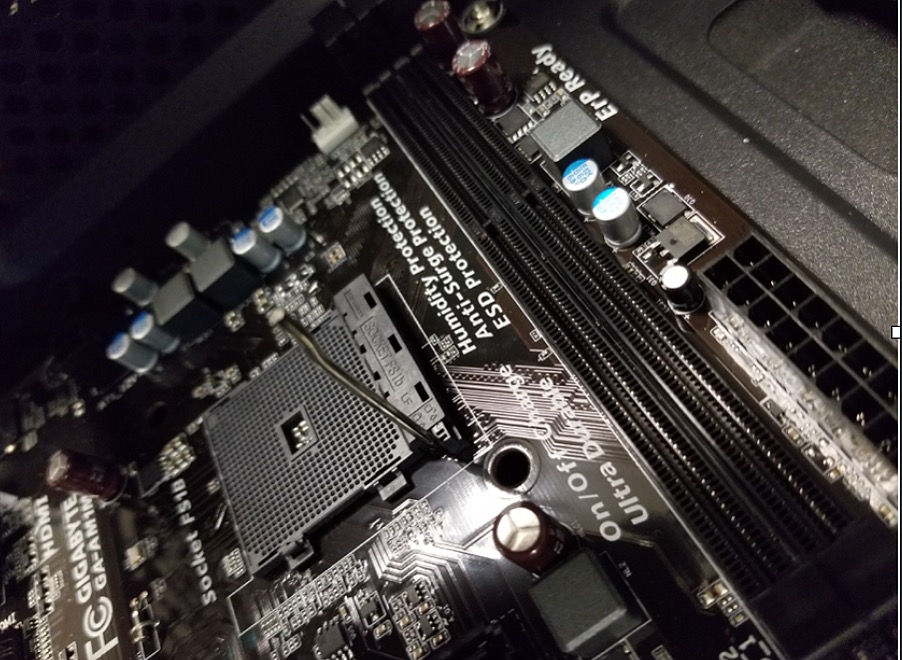
7. the CPU, be careful while putting it in place by noticing its marked corner. Lock the lever down again. (figure)

8. Apply a drop of thermal paste on the CPU.
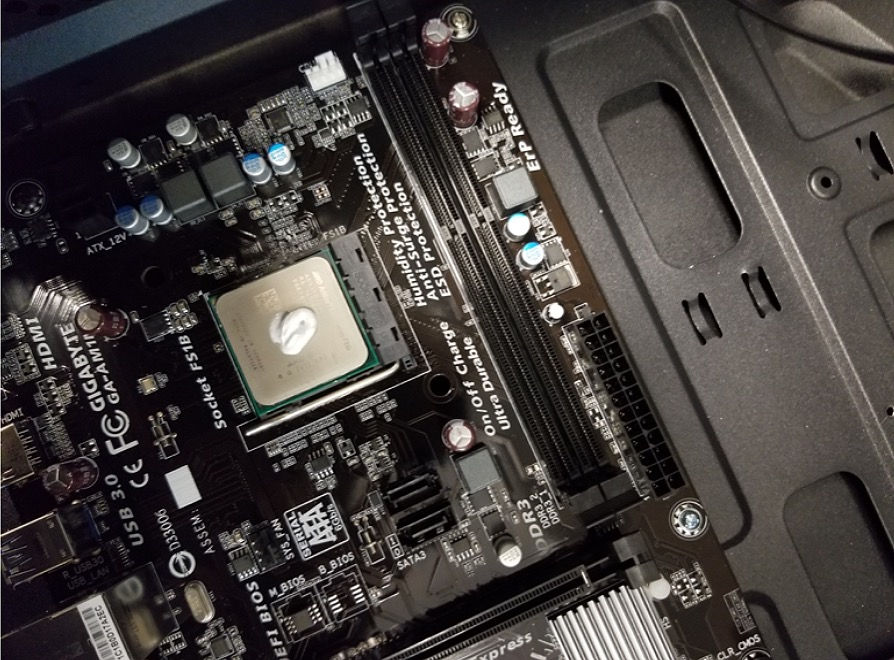
9. Install the CPU’s fan on top of the CPU and secure it with screws.

10. Insert the RAM into its slot (apply a little pressure until you hear a “click”, meaning it's well inserted).

11. Insert the graphic card.

INSTALLING THE POWER SUPPLY
12. Unbox your power supply and put it on the mat.
13. Look for the “right position" to install the power supply in the case (look for a hole in the case that matches with one of the power supply’s sides).


14. Install your power supply in the case and secure it with screws.

Installing Memory Disk
15. Insert the Memory Disk with precaution by sliding it up in its slot until you hear a slight ‘click’ (For the slots, look for what look like a mini rack in the case). (See figures)


Cabling
16. Connect the power supply to the motherboard.

17. Connect the front panel. Correctly and delicately insert each wire in its slot. Usually, wires have marks on their ends to help you out, check for them!

18. Connect the USBs

19. Connect the system fan and the CPU fan ( the slot is usually close to the CPU itself) to the motherboard.


20. Connect your drive.


21. Close the computer case.
Final hardware check
PS: For the quality of the images I took pictures of the power supply outside of the case. Please note that your power supply should be installed and secured with screws in the case while doing these steps!
1. Set the power supply to the right voltage depending on your country. For the US set it on 115 V (look for a red switch on the back of the power supply).

2. Connect the power supply to an outlet(help yourself with a cable)
3. Turn the power supply on (look for a black on/off switch on the back)
4. Connect the machine to a display screen. Plugin with a DisplayPort or HDMI port(usually at the graphic card output area).
5. Connect (via the USB slot on the back of the machine) a mouse and a keyboard.
6. Plug in a bootable flash drive and start the computer.
7. In a modern system, the boot will happen automatically without you dealing with the BIOS.
Software setups
Update drivers:
Open Start.
Search and go to Device Manager.
Expand the category with the hardware you want to update.
Right-click the device, and select Update Driver.
Click the Search automatically for updated driver software option.
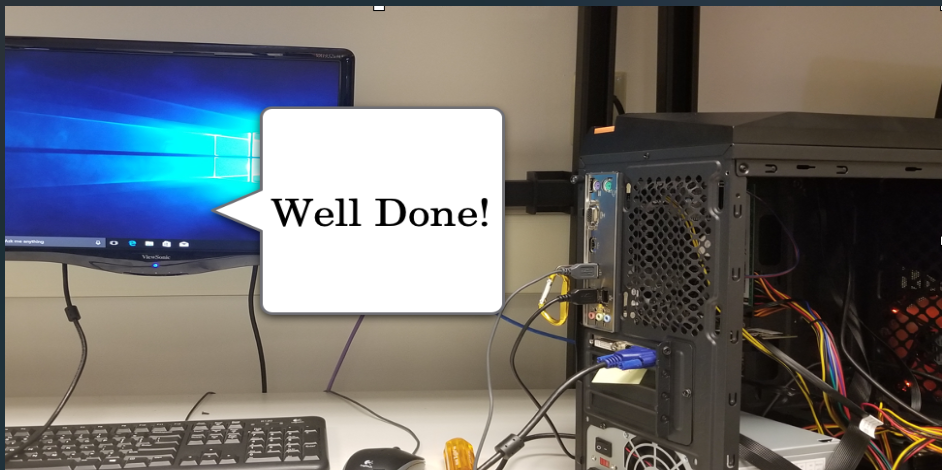
Results
The machine should be successfully assembled . Go through the system to make sure it runs correctly!
Conclusion
Computer parts are sometimes expensive and fragile; make sure you use the ESD cord and an antistatic mat. Precaution is First Priority when building your machine. Try arranging the cables (inside the computer) for them not to get in contact with the fan. Building up a computer may be time consuming, but it’s rewarding and completely worth it!
Reference
wikiHow. “How to Install a Motherboard.” WikiHow, WikiHow, 8 Aug. 2018, www.wikihow.com/Install-a-Motherboard.
VKRepair. “Best Anti Static Mat: Top 5 Mats Reviewed.” VKRepair.Com, 2 June 2018, vkrepair.com/best-anti-static-mat/.
https://www.windowscentral.com/how-properly-update-device-drivers-windows-10
Comments